Below are step by step instructions for setting up SSH access to an GitLab git repository
Create SSH key
First create a key via ssh-keygen
cd ~/.ssh
ssh-keygen -f gitlab -t rsa -b 4096
You will be asked for passphrase I’ve had issues with using one with VSCode / Remote WSL so suggest not using one.
A typical output will look like below:
$ ssh-keygen -f gitlab -t rsa -b 4096
Generating public/private rsa key pair.
Enter passphrase (empty for no passphrase):
Enter same passphrase again:
Your identification has been saved in gitlab.
Your public key has been saved in gitlab.pub.
The key fingerprint is:
SHA256:1nDTaZZ7vUjfYjxcSwW+OEEpCGUrhcJ8HgShPd+iv+Y stephen@navi
The key's randomart image is:
+---[RSA 4096]----+
|   oo+o++.  ...  |
|   o+ +o...o.+ . |
|  . o+..o o.B . .|
|     o.o + + + o.|
|      o S . +.o.o|
|     . o    .=+.+|
|    .        .*+.|
|     ..      . o |
|     oE.         |
+----[SHA256]-----+
Gitlab Configuration
Now log into your Gitlab account, from the upper-right corner, click your profile photo,
then click Edit Profile and Click SSH keys
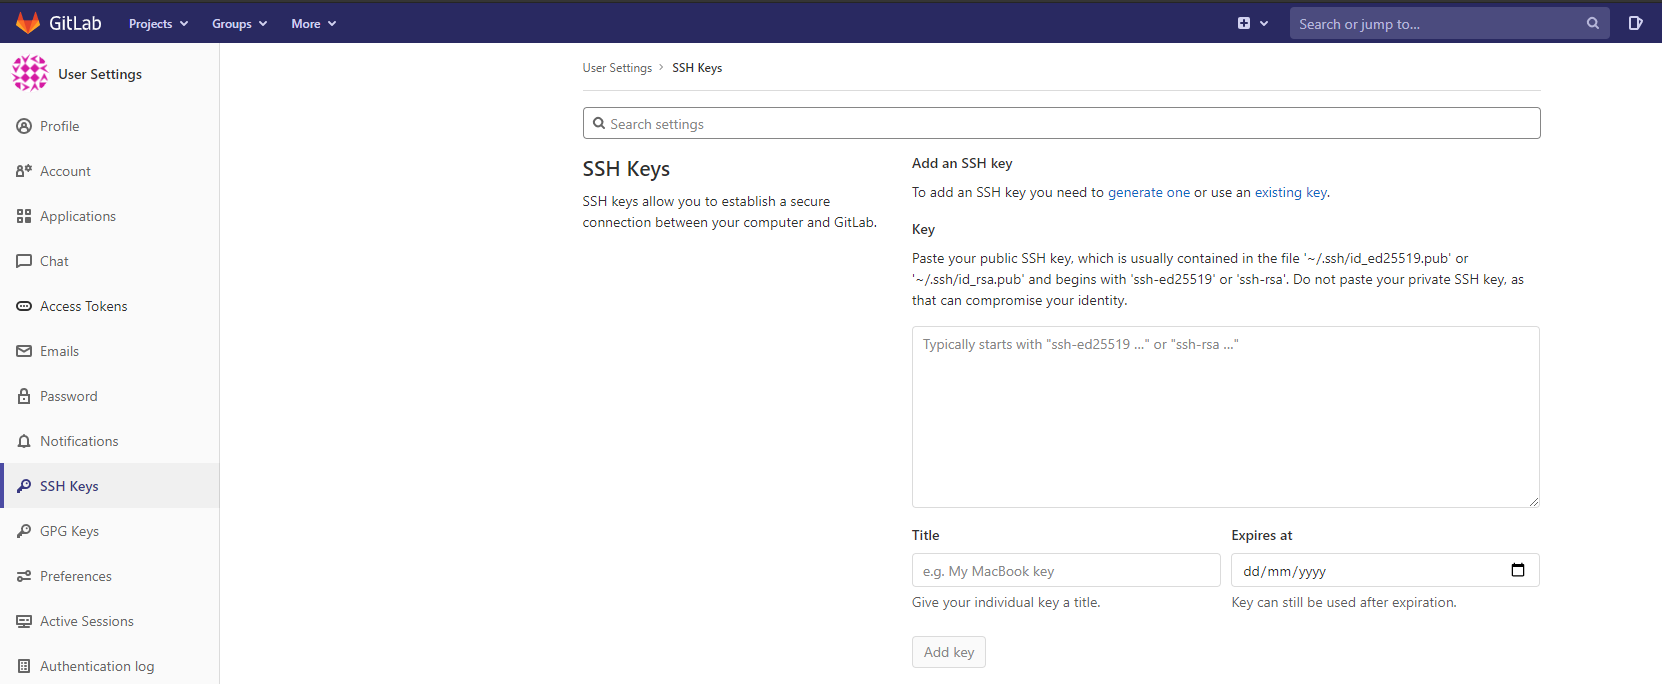
Copy and Paste your new public ssh key into the window:
cat ~/.ssh/gitlab.pub
Configure SSH
Next you need to configure SSH via the ~/.ssh/config, to use the new ssh key for your repos. If the file doesn’t exist, create it via touch ~/.ssh/config. You will need create / update it like below
Note to update the User key with the one genereated above
# GitLab.com
Host gitlab.com
  PreferredAuthentications publickey
  IdentityFile ~/.ssh/gitlab

# Private GitLab instance (update Host to your URL)
Host gitlab.company.com
  PreferredAuthentications publickey
  IdentityFile ~/.ssh/gitlab
Test access
Now we just test our connection
ssh -T git@gitlab.company.com
You should return a Welcome message.